
Planting
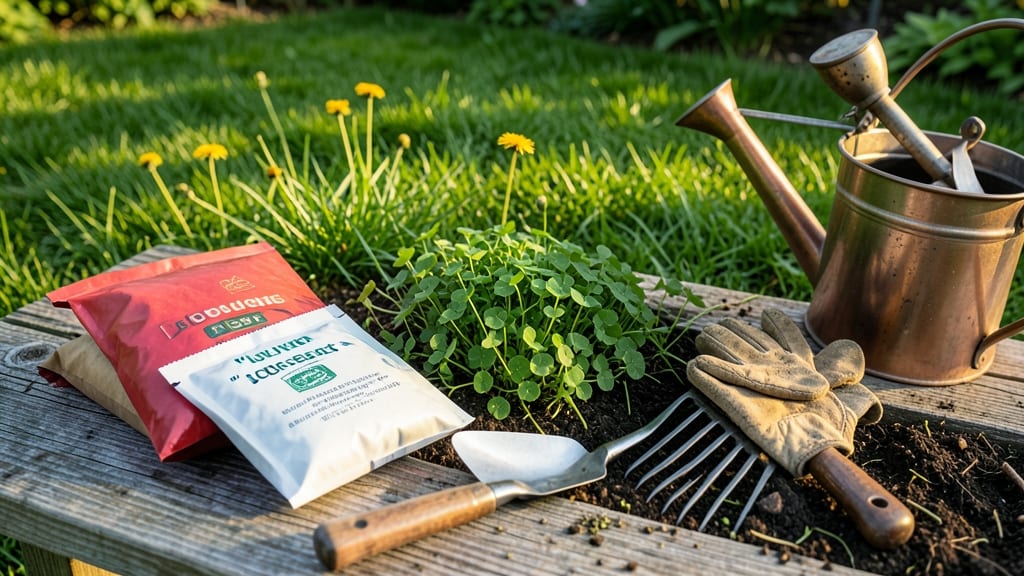
Planting clover in your lawn at the wrong time can mean wasted seeds and missed opportunities for a lush, weed-resistant yard. The best window for success is actually early spring or late summer, when soil temperatures and moisture levels create perfect conditions for fast establishment.
If you're in USDA Zone 6a, aim for March or April in spring or July or August for fall planting. These months give clover's delicate roots time to anchor before winter or summer heat sets in.
Skipping this timing means slower growth, weed competition, and less of that vibrant 🌱 coverage you're after.
What makes these seasons ideal? Spring planting lets clover establish before summer drought, while fall planting gives it a head start on root development before winter. Both approaches work beautifully for natural lawn care enthusiasts who want to reduce chemical inputs.
Ready to transform your lawn? I'll walk you through exactly how to prepare your soil, choose the right variety, and maintain your clover for fast, best results year after year. Let's get started.
Best planting months for clover by u.s. climate zone
Planting clover in your lawn isn't a one-size-fits-all task—it depends entirely on your USDA climate zone and whether you're growing cool-season white clover or warm-season red clover.
Get this wrong, and you'll waste seeds or invite weeds to dominate. But nail the timing, and you'll get a thick, weed-smothering ground cover that improves soil naturally.
Cool-season white clover thrives when soil temps are between 50-70°F, while red clover prefers 60-85°F—so your planting window shifts dramatically from Zone 3 to Zone 10. Below, I’ve broken down the ideal months for each zone, including frost-free dates and rainfall tips to maximize success.
Pro Tip: Always plant 4-6 weeks before your first expected frost for cool-season clover, or 2-3 weeks after your last frost for warm-season types. Check your local USDA zone map if you're unsure!
| USDA Zone | Cool-Season (White Clover) | Warm-Season (Red Clover) | Frost-Free Period | Rainfall Tip |
|---|---|---|---|---|
| Zones 3-4 | April-May or August-September | Not recommended | 100-150 days | Water deeply weekly—these zones dry fast |
| Zones 5-6 | March-April or July-August | June-July | 150-180 days | Avoid overwatering—clover hates soggy soil |
| Zones 7-8 | February-March or September | April-May or August-September | 180-220 days | Morning watering prevents fungal issues |
| Zones 9-10 | Not ideal—try shade-tolerant varieties | March-April or October-November | 240-365 days | Drought-tolerant once established—water lightly |
🌱 Note: Adjust for microclimates—southern slopes warm faster than northern exposures.
In Zones 3-4, where winters are harsh, focus on late summer planting (August-September) to let clover establish roots before frost. White clover here often dies back in winter but returns vigorously in spring.
Meanwhile, Zones 9-10 can plant red clover almost year-round, but avoid peak summer heat—seeds may dry out before germinating.
Rainfall plays a surprisingly big role. In dry zones (Zones 5-8), I recommend pre-watering the soil 24 hours before planting to help seeds make contact with moisture. In wet zones (Zones 9-10), prioritize well-draining soil to prevent rot—clover roots need oxygen!
One common mistake? Planting red clover in spring in Zones 5-6 when soil is still chilly. The seeds may rot before germinating. Instead, wait until soil temps hit 60°F—use a soil thermometer if you're unsure.
For white clover, the opposite is true: plant too late, and weeds will outcompete your clover before winter.
If you’re in transition zones (Zones 7-8), you can actually plant both varieties—just stagger them. Start with white clover in early spring for quick weed suppression, then add red clover in late summer for late-season blooms that attract pollinators. This two-phase approach gives you year-round benefits!
Finally, don’t forget to mow clover short (1-2 inches) after planting to encourage root growth. Tall clover shades out weeds, but young seedlings need light to establish. A light mowing 4-6 weeks post-planting strikes the perfect balance.
Timing your clover planting right isn’t just about months—it’s about soil temps, rainfall, and your zone’s unique quirks. Use this guide as your roadmap, but always double-check local frost dates and weather patterns for the most precise window. Your lawn (and future generations of bees!) will thank you.
How to prepare your lawn for clover planting by season
Preparing your lawn for clover planting isn't just about throwing seeds—it's about creating the perfect conditions for fast germination and long-term success. Whether you're planting white clover for nitrogen-fixing benefits or red clover for pollinators, seasonal timing and prep work make all the difference.
Spring and fall offer the best windows, but each requires slightly different steps to ensure your clover thrives.
For spring planting, focus on soil warming and weed suppression before seeds go in. In fall planting, prioritize root establishment before frost sets in.
Both seasons demand attention to mowing height, soil pH, and watering schedules—details that separate a patchy lawn from a lush, weed-free carpet of clover.
-
Test and Adjust Soil pH
Aim for 6.0–7.0 pH—clover struggles in acidic soil. Use lime to raise pH if needed, or sulfur to lower it. Test 2–4 weeks before planting to allow adjustments to take effect. -
Mow Lawn to 1.5–2 Inches
Shorten grass height for better seed-to-soil contact. Avoid scalping, which stresses grass and compacts soil. Use a mulching mower to recycle clippings as natural fertilizer. -
Control Weeds Before Planting
Apply pre-emergent herbicide 2 weeks before seeding (spring) or use manual removal (fall). Weeds compete for nutrients and light, stifling clover growth. -
Overseed with a Broadcast Spreader
Use 1/4–1/2 lb of seed per 100 sq ft. Lightly rake soil to create a fine seedbed, then cover seeds with 1/4 inch of compost to protect them from birds and drying out. -
Water Deeply and Frequently
Keep soil consistently moist for the first 3–4 weeks. Water early morning to reduce evaporation and fungal risks. Aim for 1/2 inch of water per week during establishment. -
Avoid Fertilizing Heavily
Clover fixes its own nitrogen—skip synthetic fertilizers post-planting. Instead, top-dress with compost in early spring or fall to boost soil health naturally.
Spring prep should also include light scarifying to remove thatch, which improves seed contact with soil. Use a spring-loaded rake or dethatching tool to break up compacted layers. In fall, focus on aeration to help clover roots penetrate deeper before winter dormancy.
One common mistake is overwatering after germination. While clover needs moisture, soggy soil leads to rot. Aim for deep, infrequent watering—this encourages roots to grow downward, making your clover more drought-resistant once established. Mulch lightly with straw to retain moisture without smothering new shoots.
For regional adjustments, northern climates (USDA Zones 3–5) should prioritize late summer/fall planting to avoid early frosts. Southern zones (6–10) can plant early spring or late winter, but avoid drought-prone months. Always check your local frost dates—planting too close to frost risks seed death before germination.
With the right prep, your clover will establish in 4–6 weeks, outcompeting weeds and adding nitrogen-rich organic matter to your soil. The key is patience: consistent moisture, minimal disturbance, and seasonal timing will turn your lawn into a thriving, low-maintenance ecosystem. 🌱